
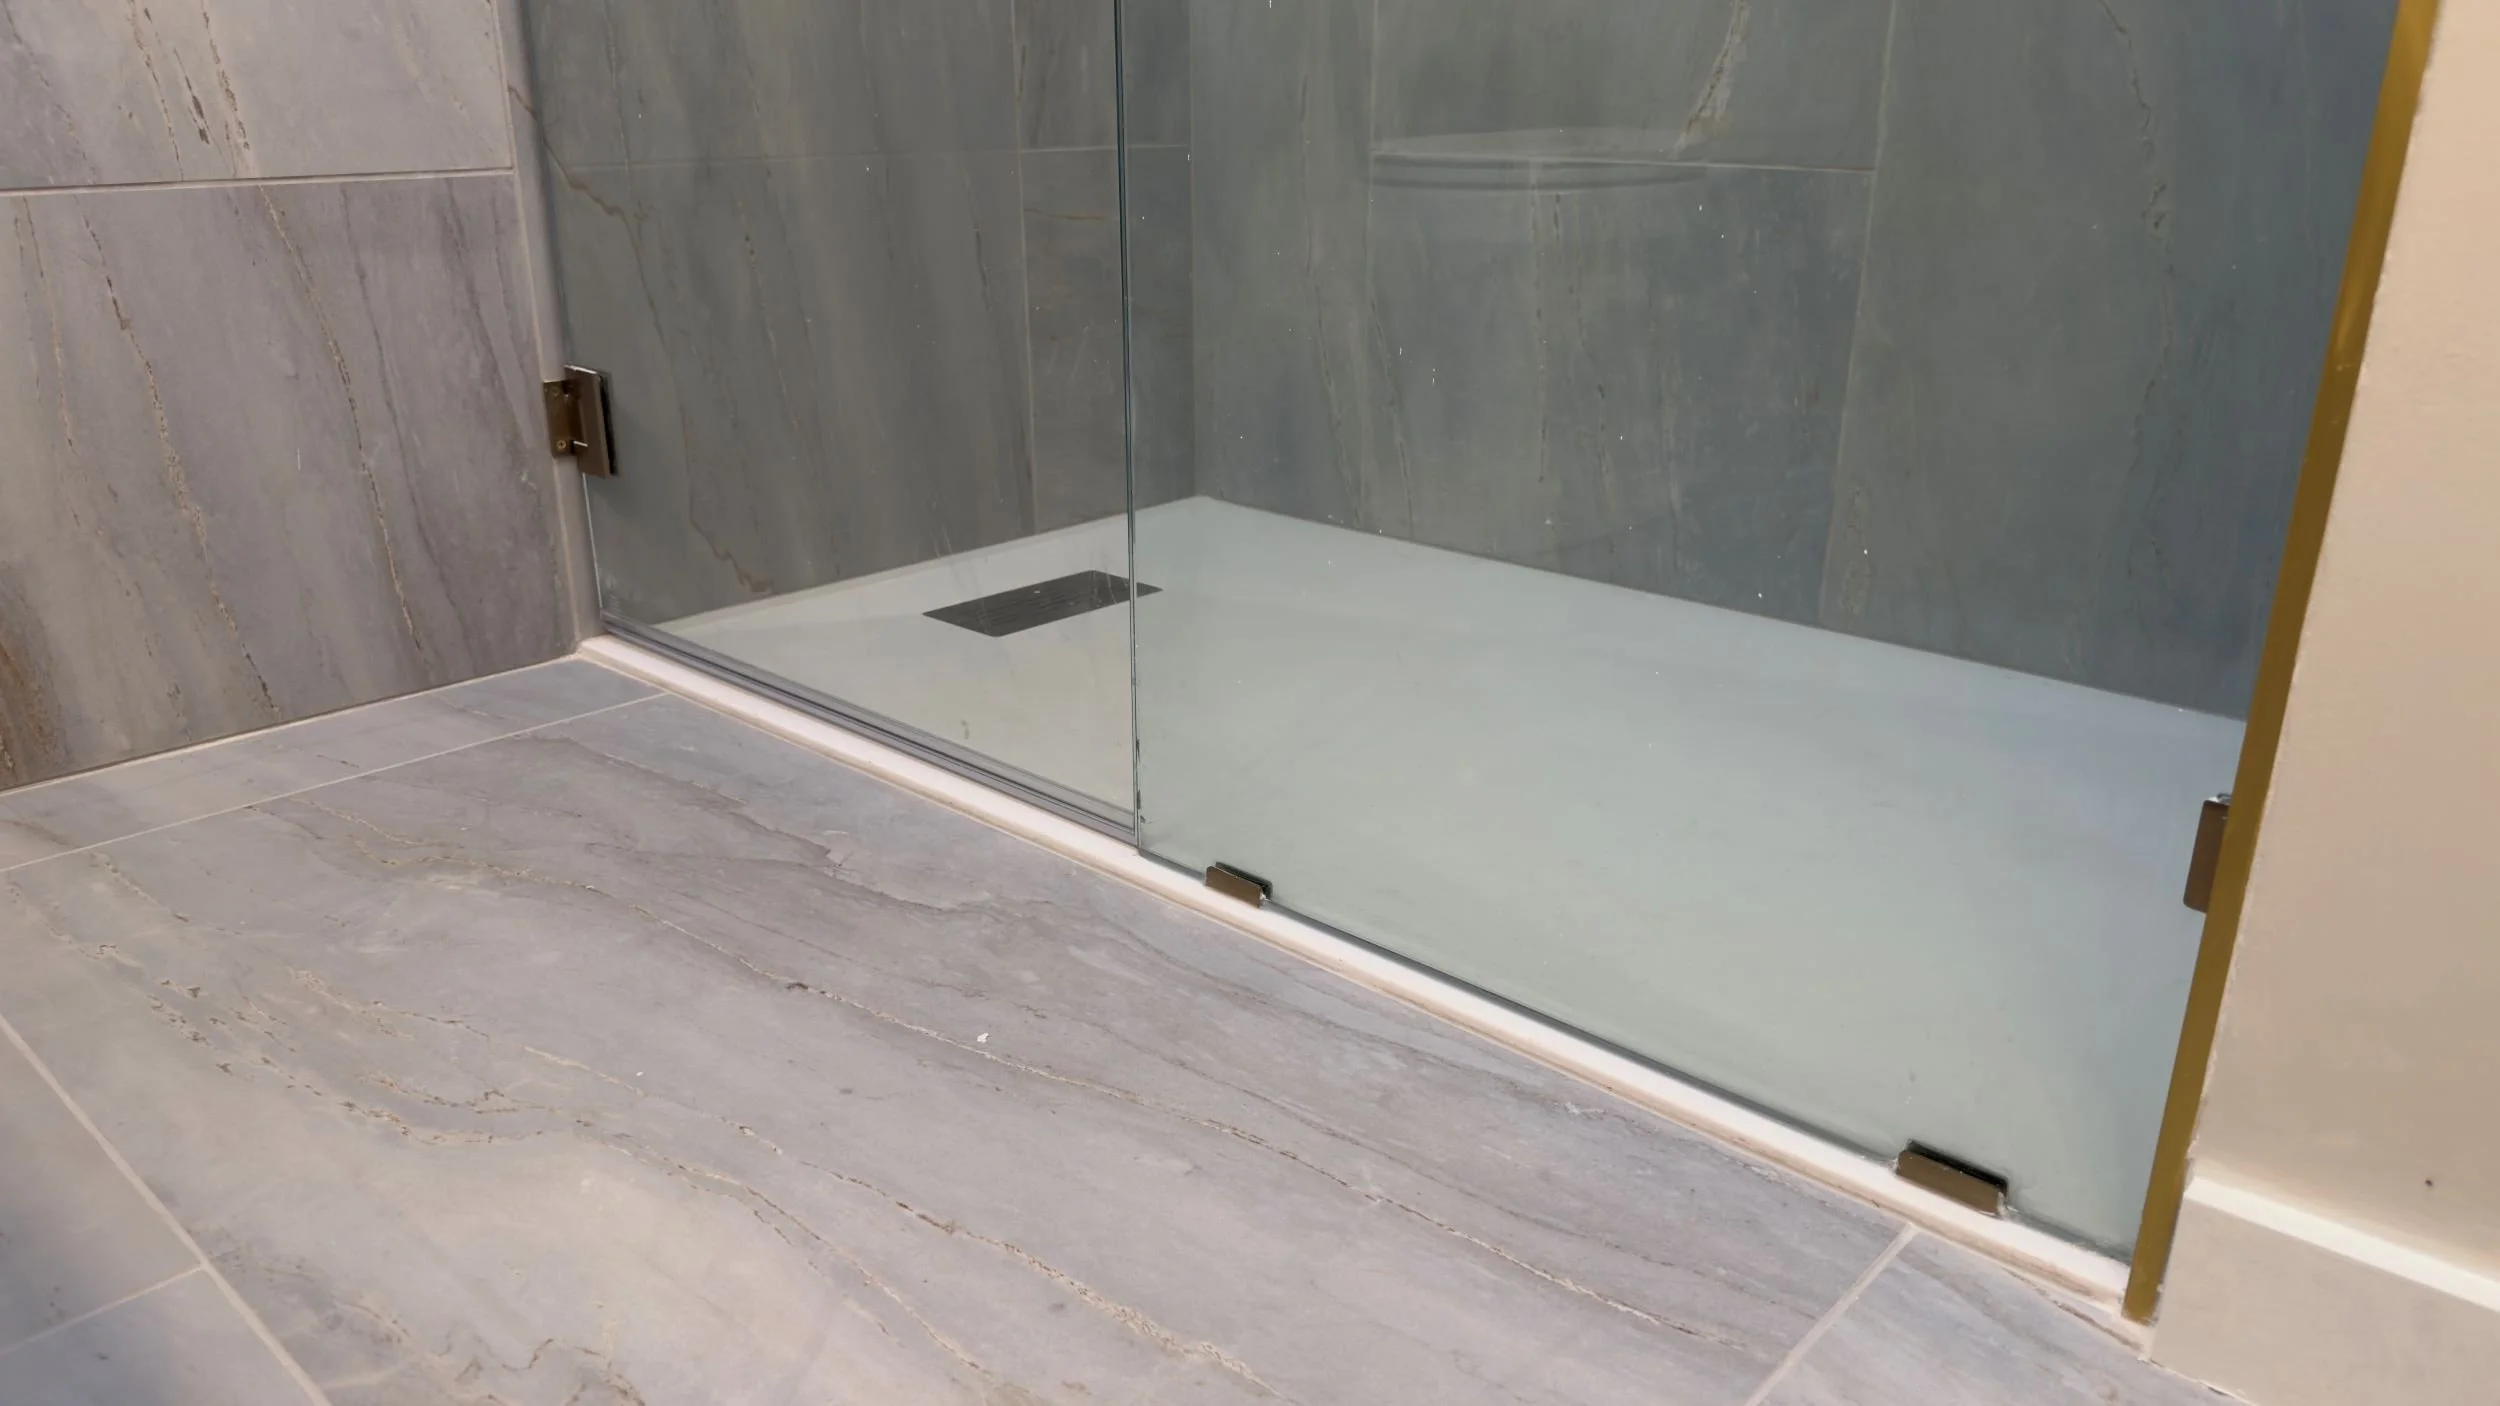
Recessing Floor Joists for Zero-Threshold Entries
You cannot fake a true zero-threshold curbless shower by building up a ramp at the doorway. I show you how we notch, sister, and re-engineer floor joists so the shower floor pitches properly while remaining flush with your bathroom tile. For homeowners researching how to recess joists for curbless shower installations, the answer lies entirely in rigorous behind-the-wall engineering. We execute these flush transitions seamlessly in our custom curbless bathrooms, ensuring your primary suite is built with intention and remains structurally unyielding.
Evaluation and Subfloor Demolition
A luxury finish is only as durable as the substrate supporting it. Before cutting any lumber, my team verifies that the existing joist spacing does not exceed 19.2 inches on center. We must confirm the floor cavity depth will comfortably accommodate all plumbing components after the planned 11/16 inch recess. We trace the shower tray dimensions onto the subfloor, carefully cut out the sections, and remove any remaining glue or splinters from the tops of the joists. When working along the bottom plate of a wall, we leave exactly 1 inch of overhanging subfloor intact to provide secure P-bracket attachment.
Mechanical Recessing to Cabinetmaker Tolerances
To execute this drop safely without compromising the home's structural integrity, we deploy the Schluter-KERDI-SHOWER-FRS floor recessing system. This engineered method utilizes heavy-gauge steel J-brackets and P-brackets to suspend the new subfloor. We apply construction adhesive to all bracket ledges before setting the inserts securely in place. Next, we fasten precise 3/4-inch plywood inserts using the provided 1-5/8 inch wood-to-metal screws. We ensure these plywood inserts are completely free of holes, damage, or defects. By dropping the subfloor plane precisely 11/16 of an inch between the joists, we create the perfect structural cavity for the sloped shower base.
Flush Integration and Moisture Control
This calculated 11/16 inch recess directly accommodates the Schluter-KERDI-SHOWER-TT thin-perimeter tray, guaranteeing that the finished shower pan sits perfectly flush with the adjacent room subfloor. To create a continuous and perfectly planar transition, the uncoupling membrane should be installed abutted to and flush with the tray. My team takes special care to ensure appropriate coverage over the bracket tabs. We then seal all seams and floor-to-wall connections with KERDI-BAND to build a permanent, waterproof envelope. You can review our complete moisture management protocols and zero-barrier drainage assemblies in our guide to Schluter Shower Systems.
Architectural Stewardship
Remodeling a primary ensuite triggers enough disruption without worrying about compromised framing underneath your tile. We enforce strict clean-living protocols to keep dust isolated and manage your home with profound architectural stewardship. Doing the hard prep work behind the walls right the first time permanently eliminates structural deflection and displacement stress. If you are ready to evaluate the joist layout and framing requirements for your new curbless bathrooms, reach out to schedule a diagnostic consultation.
What specific subfloor material or joist configuration are you currently evaluating in your primary suite? Contact Dash Farr today to schedule your pre-construction project consultation.
Dash Farr | Commissioned Craftsman | Johnson County & Kansas City Metro